Sunday, March 3, 2013

Scrapbook Pages - Wallet Pictures

Thought I'd post some pictures of the two pages I made this weekend.
I've had these older pictures of my niece and nephew for while now,
been meaning to do a page for some of them and finally got around to it.


I used the following for this page
DCWV - White Ginger Stack
Cricut cartridges - Elegant Edges & Plantin SchoolBook

Yellow and White Scallop - Elegant Edges at 9 1/2"
Inner Blue Square- Plantin SchoolBook at 7 3/4"
Rectangles -PlantinSchoolBook at 3 1/2"


For this page I used the following
DCWV - Cherry Limeade
Cricut Cartridge Plantin SchoolBook

Rectangle Mats for pictures - Plantin schoolBook at 4"
Stars - Plantin SchoolBook at 3 1/2"
Letters - Plantin SchoolBook at 1 3/4"


Friday, October 12, 2012

Halloween Silhouette

Decided I wanted to make some personalized silhouette's for some Halloween decorations.
Here is my hubby's. I've also started one of me and our lil dog.


First I took a side profile picture of my hubby, as close as I could with the least amount of background.
I printed out the picture on my computer on 4x6 photo paper in black and white.


I then outlined the profile using a sharpie.
Then I filled in the entire outline and then cut it out.


I used a foam brush and Elmer's glue to completely cover the cut out silhouette.
Then covered it in Martha Stewart glitter in Onyx and set it aside to dry.

After it completely dried I placed a scrapbook stack ontop of it with a few things to weigh
it down because, the photo paper will curl after you glue on the glitter.


I used the Martha Stewart Halloween paper stack that I purchase at Michaels.


Sunday, September 23, 2012

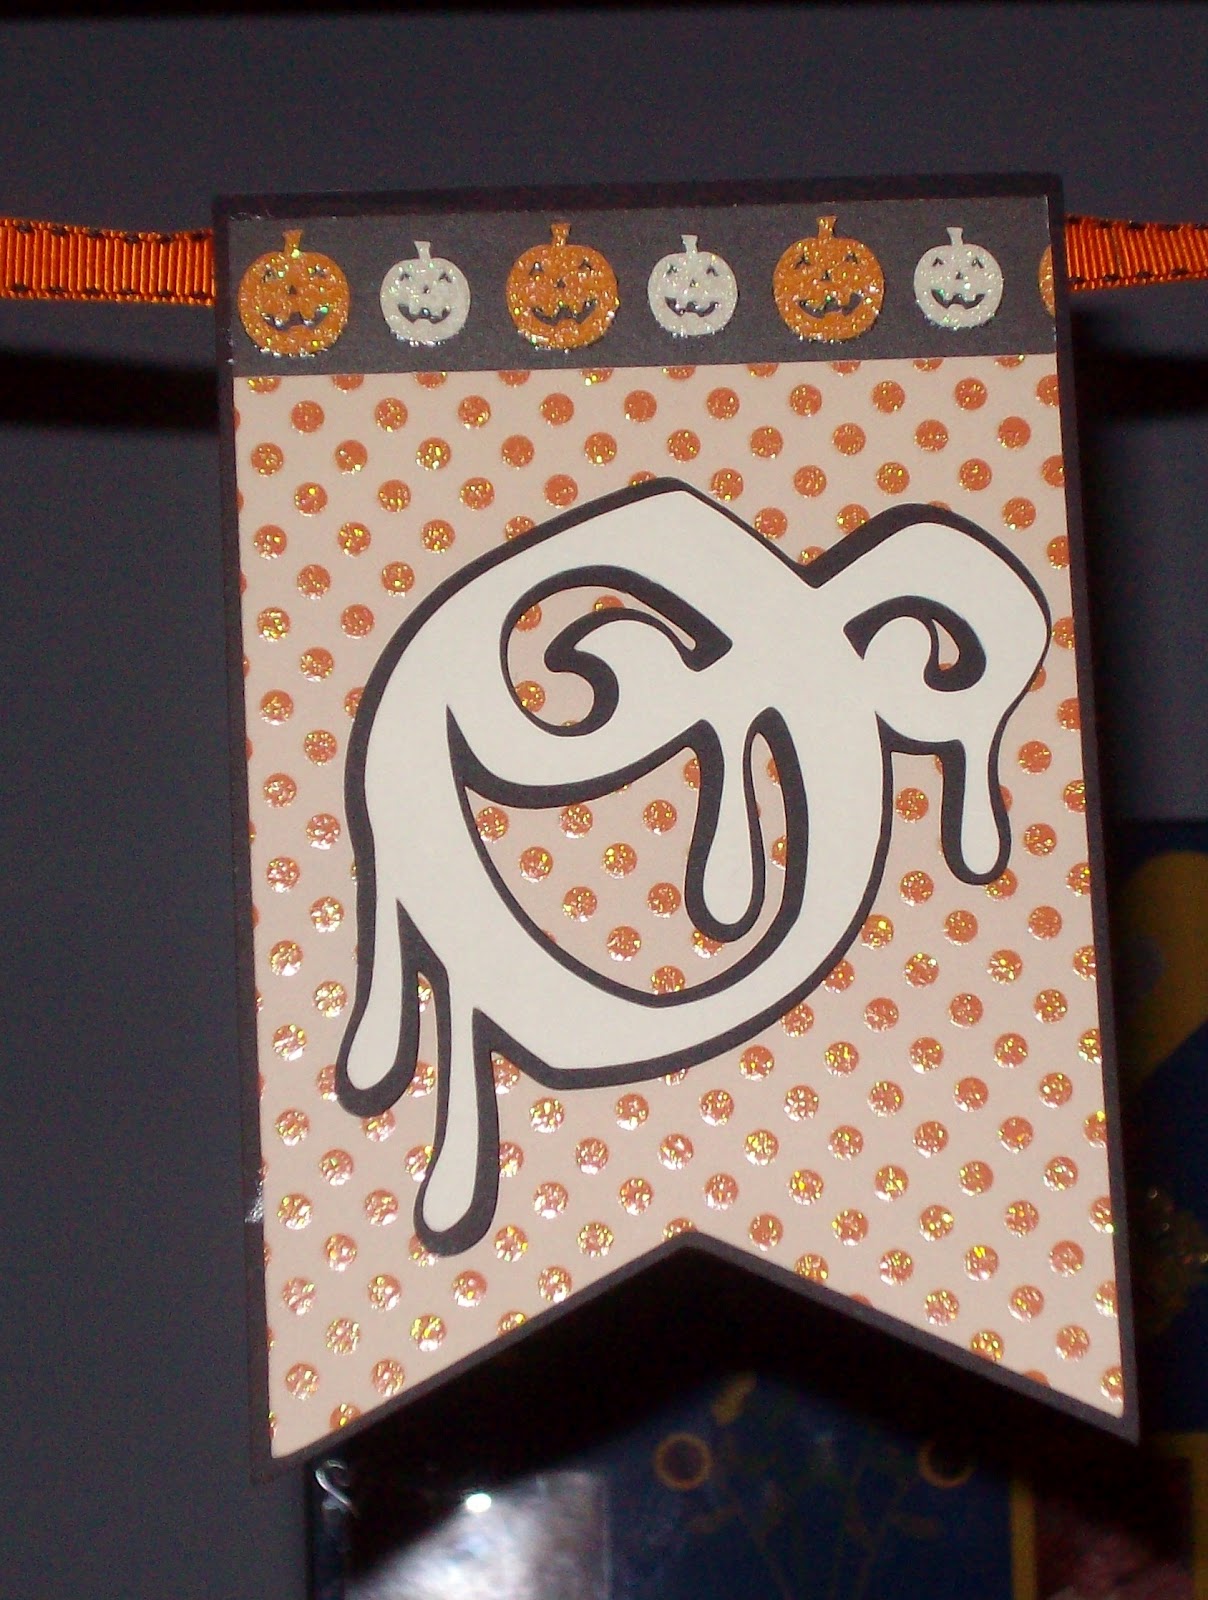
Halloween Banner


Halloween Banner I made for my dining area.
I used Cricut Cartridges; Pretty Pennants & Plantin SchoolBook
Paper is DCWV Bewitched.


I cut the black pennants at 4 3/4", the top layer at 4 1/2".
I cut out the shadow of the letter out at 2 1/2" and the top layer out at 2 1/2".
Letters were adhered with foam squares.
Ribbon I strung them together with I cut at 5" each and adhered about
1" of it onto each connecting pennant.
For the border at the top I just cut a strip 3/8" wide
by about 3 1/4" long.

Sunday, September 16, 2012

Boo Banner


Banner I made for the doorway into our hallway.


I cut the black pennant out at 5", from Cricut Party Pennants, and
the orange, DCWV - Bewitched, I cut at 5 3/4".
For the font I used, Happy Hauntings - Vampire Font, I used
the shadow font and regular and cut them out at 3".
The border at the top of the pennant was from
Recollections Midnight Magic 2011.


I used Cricut - Ribbons & Rosettes - Grass and cut
six out at 2 1/2", paper is from Midnight Magic.
The center is the grass medallion cut out
at 1 1/2" pumpkin is from Ghosts & Goblins.

I used 3/8" ribbon to string it up. I cut each
piece at 6" and attached them to the back
of each pennant.


Sunday, August 26, 2012

Some Cards

Here are a few cards that I have recently made and
a few that I have made in the past.


Wednesday, April 4, 2012

Utensil Holder

I decided to start saving soup and vegetable cans for crafting, hoping
that I could come up with something to do with them. Well
I happen to be off work for Spring Break this week, was staring at
the empty cans and it finally came to me...A Utensil Holder.

My cousin and best friend just got an apartment together
and I thought making them one to go with their purple
themed kitchen would be perfect.

Supplies Needed
Large Soup Can
Modge Podge
Foam Brush
Scrapbook Paper
1/4" Black Grossgrain Ribbon


I ran the cans through the dishwasher, after removing the labels, to make sure they
were extra clean. I took them out right after the heat dry cycle, it made
removing the excess glue dots much easier when they were hot.


I cut out a piece of scrapbook paper to fit just under both
the top and bottom lips of the can. I applied a small layer of
modge podge to both the back of the scrapbook paper and
the can. I used my fingers to press and roll the paper onto
the can, making sure to press out any bubbles.


I let it dry for about 15 minutes and then sealed the top of the paper
with three coats of modge podge. Once they had dried I applied
the modge podge to the ribbon in the same way I did the scrapbook paper.
Once dry I applied another two layers to the entire can, including the
bottom of the can, to prevent any rust rings on the counter.

Tuesday, March 6, 2012

Mini-Cupcake Tower


Decided to make a cupcake tower to display my mini-cupcakes
for a candle party I had.
After I located my xacto knife this project was pretty simple.

Materials & Tools

1. Foam board
2. Scrapbook paper
3. Styrofoam
4. Hot Glue Gun
4. Xacto Knife
5. Cricut Cartridge - Plantin Schoolbook
6. ATG Gun
 
The sizes of the levels are 12", 10" and 8".
I cut the scrapbook paper out first using my cricut, then
I laid them on the foam board to outline where I needed to cut.

To make the colums, I cut the styrofoam out to my desired
height and then hot glued the paper around.
Then I attempted to measure out the center and hot glue
the columns down.

Since I only used this for mini-cupcakes I only did one layer for
each level. But, if you're going to make one for something heavier,
I would recommend doubling the layer of foam board.
To cover the foam edges I would just hot glue some ribbon on.